
EV charging systems in Auckland encompass a comprehensive range of solutions, from standard Level 1 domestic socket cables to high-performance Level 2 smart wall chargers and rapid Level 3 public DC stations. Installing the correct system requires balancing your daily driving distance, your home’s electrical capacity, and safety regulations to ensure reliable vehicle readiness.
Understanding EV Charging Levels: Speed and Efficiency
As the automotive landscape in Auckland shifts rapidly towards electrification, understanding how to fuel these vehicles is the first step in ownership. Unlike internal combustion engines that require a trip to the petrol station, Electric Vehicles (EVs) offer the convenience of “refuelling” while you sleep. However, not all charging systems are created equal. In New Zealand, charging speeds are categorized into three distinct levels, each serving a specific purpose in the EV ecosystem.
Level 1: The “Granny” Charger (Portable Domestic)
Level 1 charging utilizes the standard 3-pin household outlet found in every Auckland home (230V, 8A-10A). Most EVs come supplied with a portable charging cable, often colloquially referred to as a “granny cable.” While convenient because it requires no installation, it is the slowest method available.
Typically delivering between 1.8kW and 2.3kW of power, a Level 1 charger adds approximately 10 to 15 kilometres of range per hour of charging. For a modern EV with a 60kWh battery, a full charge from empty could take over 30 hours. This method is best reserved for plug-in hybrids (PHEVs) with smaller batteries or for emergency top-ups when no other option is available. Relying on this daily can put strain on standard household wiring if the socket is old or worn.
Level 2: Dedicated AC Wallbox (Fast Home Charging)
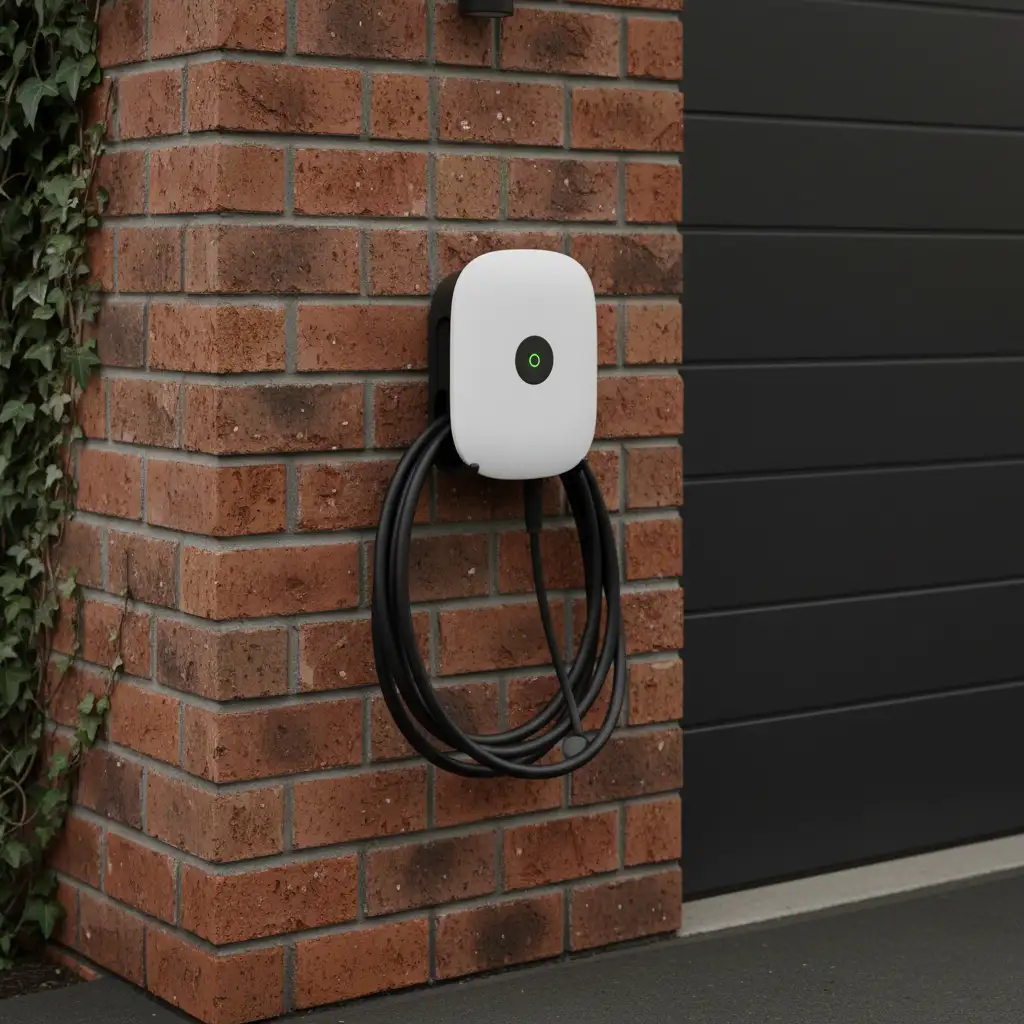
This is the gold standard for home EV charging systems in Auckland. A Level 2 charger is a dedicated unit hardwired into your home’s switchboard. These units typically operate at 7.4kW (single-phase) or up to 22kW (three-phase), though most Auckland residential properties are limited to single-phase power.
A 7.4kW wallbox can charge an EV roughly three to four times faster than a standard socket, adding about 40 to 50 kilometres of range per hour. This means a vehicle can be fully charged overnight (within 6–8 hours), allowing you to start every day with 100% capacity. This efficiency makes Level 2 the preferred choice for daily commuters and mobile service providers who rely on their vehicles being ready at a moment’s notice.
Level 3: DC Fast Charging (Public Rapid)
Level 3 chargers, often called Rapid or Hyper-Rapid chargers, bypass the vehicle’s onboard AC charger and deliver Direct Current (DC) electricity straight to the battery. You will not install these at home due to their massive power requirements and cost.
Found at public stations like ChargeNet or BP Connect, these units range from 25kW to over 300kW. They can charge an EV from 20% to 80% in as little as 20 minutes. They are essential for inter-city travel across the North Island but are not recommended for daily use, as frequent rapid charging can accelerate battery degradation over time.
Home Installation Guide for Auckland Residents
Installing an EV charging system in Auckland is not a DIY task. It involves high-voltage electricity and specific regulatory compliance to ensure your home insurance remains valid and your property safe. Here is the step-by-step process for a compliant installation.
1. Assessing Electrical Capacity
Before purchasing a charger, you must determine if your home’s main switchboard can handle the additional load. Many older Auckland homes, particularly villas and bungalows, may still rely on 60-amp main fuses or have outdated wiring. Adding a 32-amp load (for a 7.4kW charger) to a house running heat pumps, spa pools, and induction cooktops can trip the main breaker.
An electrician may recommend a “load management” device. This smart clamp monitors your home’s total power usage; if you turn on the oven and the heat pump, the charger automatically reduces its speed to prevent overloading the fuse.
2. The Installation Process
Under New Zealand law, any high-current installation must be carried out by a registered electrician. The process typically involves:
- Site Inspection: Determining the location of the charger relative to the switchboard. Long cable runs or trenching through driveways will increase costs.
- Circuit Protection: Installing a dedicated circuit breaker and a specific Type B or Type A RCD (Residual Current Device) to protect against DC leakage, which is a specific risk with EVs.
- Cabling: Running heavy-duty cable (usually 6mm²) from the board to the charger location.
- Commissioning: Testing the unit to ensure it communicates correctly with the vehicle.
3. Compliance and Certification
Once the installation is complete, the electrician must issue a Certificate of Compliance (CoC) and an Electrical Safety Certificate (ESC). These documents are your proof that the work meets AS/NZS 3000 wiring rules. Keep these safe; if you ever have an electrical fire, your insurance company will demand to see them. For more details on energy safety and regulations, you can refer to WorkSafe New Zealand.
Choosing the Right Wallbox: Tethered vs. Untethered
When selecting your hardware, one of the primary physical decisions is whether to choose a tethered or untethered unit.
Tethered Chargers
A tethered charger has the Type 2 cable permanently attached to the unit.
Pros: Convenience. You simply park, grab the cable, and plug in. You don’t need to retrieve your cable from the boot every time.
Cons: If the cable gets damaged, you often have to repair the whole unit. It also looks slightly less tidy on the wall, and you are locked into that specific connector type (though Type 2 is the NZ standard).
Untethered (Socket) Chargers
These units look like a socket on the wall. You must plug your own BYO cable into the charger and then into the car.
Pros: Aesthetically cleaner. If the cable breaks, you just buy a new cable. It is more future-proof; if standards change, you just get a different cable.
Cons: Less convenient for daily use. You have to get your cable out of the car boot every night, or buy a spare cable to leave permanently plugged in.
Navigating Public Charging Networks in New Zealand
While home charging covers 90% of use cases, public infrastructure is vital for those long trips or for Aucklanders without off-street parking. New Zealand boasts a robust network relative to its population.
Major Operators
ChargeNet: The largest nationwide network. They offer a mix of 25kW, 50kW, and 300kW hyper-chargers. Access is via an RFID fob or a smartphone app.
Vector: In Auckland, Vector previously provided free chargers, though many are transitioning to paid models. They are often located in shopping malls and car parks.
Z Energy and BP: Major fuel retailers are rapidly installing high-speed chargers on their forecourts, mimicking the traditional petrol station experience.
Cost of Public Charging
Public charging is significantly more expensive than home charging. While home power might cost $0.20 – $0.30 per kWh, public rapid chargers can cost between $0.60 and $0.85 per kWh, plus a connection fee. It is economical for road trips but expensive for daily “fueling.”
Critical Safety Protocols and Maintenance
Electricity and vehicles are a safe combination only when treated with respect. As experts in vehicle mechanics and maintenance, we see the results of poor equipment care. Here is how to keep your EV charging system safe.
Avoid Extension Leads
Never use a standard household extension cord with your EV charger. Standard cords are not rated for the continuous high current draw of an EV and can melt or catch fire. If you absolutely must extend the reach, use a heavy-duty lead specifically manufactured for EV use with built-in thermal protection.
Cable Care
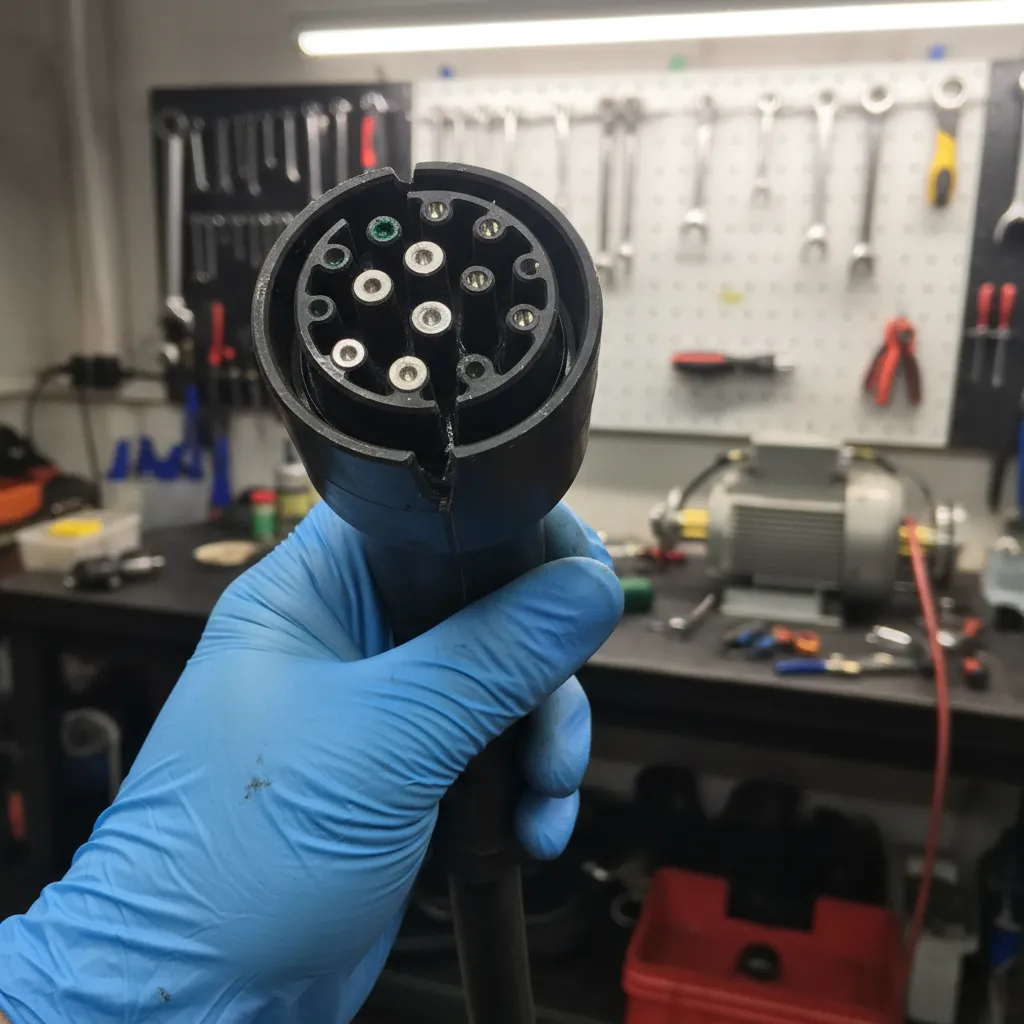
Inspect your charging cables regularly. Look for cuts in the insulation, exposed wires, or cracks in the plastic housing of the plug. A damaged cable can cause arcing or electrocution. Do not drive over your cable; the internal copper strands can break without showing external damage, leading to high resistance and heat buildup.
Water and Weather
While EV chargers are designed to be weather-resistant (usually IP54 or IP65 rated), they are not submarines. Ensure your wallbox is installed where it won’t be submerged in heavy rain. When not in use, always replace the protective rubber cap on the cable to prevent water and dust from corroding the pins.
Smart Charging and Solar Integration
To truly maximize the benefits of an EV in Auckland, you should look beyond simple charging and consider smart charging. This involves integrating your vehicle with your home’s energy profile.
Off-Peak Optimisation
Smart chargers connect to Wi-Fi and allow you to schedule charging. Most Auckland power providers offer “Time of Use” plans with cheaper rates at night (e.g., 9 PM to 7 AM). A smart charger ensures the car only draws power during these cheap windows, potentially halving your running costs.
Solar Diverters
If you have rooftop solar panels, a smart EV charger is essential. Standard chargers will pull from the grid if the sun isn’t shining brightly enough. However, a solar-aware charger (like the Zappi) can monitor your solar generation. If your house is generating excess solar energy that would otherwise be exported to the grid for a low feed-in tariff, the charger diverts that free energy into your car battery. This is effectively driving on sunshine—the ultimate zero-emission, zero-cost transport solution.
For further reading on energy efficiency and optimizing your home setup, the Energy Efficiency and Conservation Authority (EECA) provides excellent resources for New Zealanders.
Frequently Asked Questions
How much does it cost to install an EV charger in Auckland?
The cost varies depending on the complexity of the installation. A standard installation (where the charger is close to the switchboard) typically costs between $1,500 and $2,500 NZD, including the hardware and electrical labour. If your switchboard needs upgrading or significant trenching is required, costs can exceed $4,000.
Can I install an EV charger myself in NZ?
No. In New Zealand, the installation of a dedicated EV wallbox (Level 2) involves high-voltage wiring and must be carried out by a registered electrician. They must provide a Certificate of Compliance (CoC) upon completion to ensure the work is safe and legal.
Do I need 3-phase power for an EV charger?
No, you do not need 3-phase power. Most residential homes in Auckland operate on single-phase power, which supports chargers up to 7.4kW. This is sufficient to charge most EVs overnight. 3-phase power allows for faster charging (up to 22kW) but is generally unnecessary for home use unless you have a very large battery and short turnaround times.
What is the difference between Type 1 and Type 2 EV plugs?
Type 1 (J1772) is common in older Japanese imports (like early Nissan Leafs). Type 2 (Mennekes) is the standard for New Zealand new vehicles and European imports. Most public AC chargers in NZ have Type 2 sockets, so if you have a Type 1 car, you will need a Type 1-to-Type 2 adapter cable.
Is it safe to charge an EV in the rain?
Yes, it is safe. EV charging systems and connectors are designed to be waterproof and weatherproof. The flow of electricity does not begin until the car and charger have communicated and locked the connection, ensuring there is no risk of shock even in wet Auckland weather.
How long does a typical EV battery last?
Modern EV batteries are designed to last the life of the vehicle, often exceeding 15 to 20 years before capacity drops significantly. Most manufacturers offer warranties of 8 years or 160,000km. Proper charging habits, like avoiding constant rapid charging, help extend battery life.