Seized brake caliper repair involves diagnosing and rectifying a stuck braking mechanism where the caliper piston or slide pins fail to retract, causing the brake pads to drag continuously against the rotor. To repair this, you must disassemble the caliper, remove corrosion from the guide pins, replace damaged dust boots, or rebuild the internal piston seals to restore proper hydraulic function.
Understanding the Mechanics of a Seized Caliper
The brake caliper is the muscle behind your vehicle’s stopping power. In a disc brake system, the caliper houses hydraulic pistons that squeeze the brake pads against the spinning rotor when you press the brake pedal. However, these components operate in one of the harshest environments on a vehicle, subjected to extreme heat cycles, road salt, moisture, and brake dust.
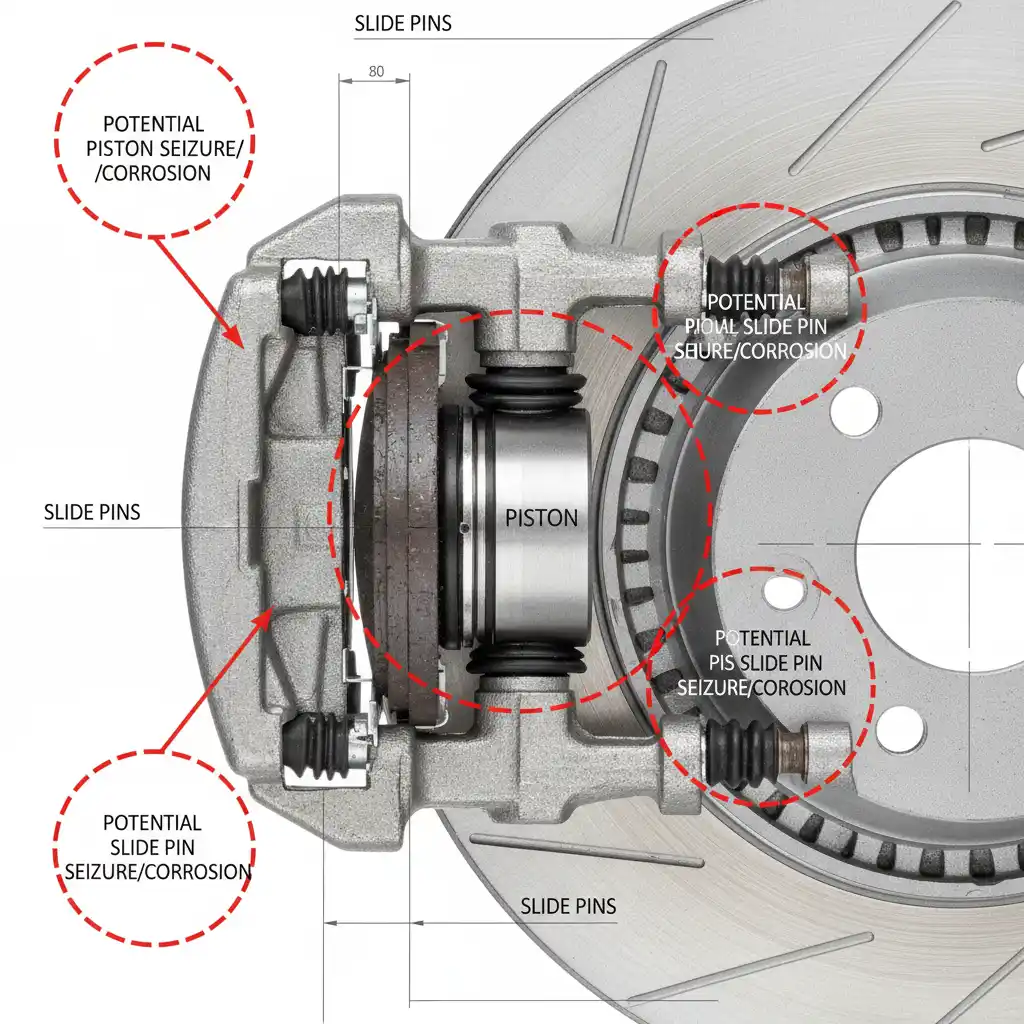
Most modern vehicles utilize a “floating” caliper design. This system relies on two critical movements: the piston pushing outward and the caliper body sliding inward on guide pins. When either of these mechanisms fails, the caliper is considered “seized.” A seized caliper does not release the clamp load on the rotor after you take your foot off the pedal. This constant friction is destructive, dangerous, and expensive if ignored.
There are generally two types of seizures:
- Slide Pin Seizure: The most common failure. The metal pins that allow the caliper to float rust inside their brackets due to dried-up grease or torn rubber boots.
- Piston Seizure: The hydraulic piston becomes stuck inside the caliper bore, usually due to corrosion on the piston surface or degraded brake fluid accumulating moisture internally.
Critical Symptoms of a Seized Caliper
Identifying a seized brake caliper early can save you hundreds of dollars in collateral damage, such as warped rotors or destroyed wheel bearings. Because the brakes are constantly applied, the symptoms are often related to heat and resistance.
1. Vehicle Pulling to One Side
If a front caliper seizes, it creates significant drag on that wheel. When you are driving, the car may pull toward the side with the seized caliper because that wheel is rotating slower than the others. Conversely, during braking, the car might pull toward the working side if the seized caliper is failing to engage, or pull toward the seized side if it is engaging but failing to release. This unpredictability makes the vehicle unstable.
2. Burning Smell and Smoke
Friction generates heat. A caliper that won’t release keeps the pads pressed against the rotor while you drive. This can raise temperatures to dangerous levels (over 600°F). You will often smell a distinct, acrid chemical odor—this is the friction material of the brake pads burning. in severe cases, you may see visible smoke rising from the wheel well after parking.
3. Reduced Braking Power and Fade
As the brake fluid in the seized caliper overheats, it can boil. Gas bubbles form in the hydraulic lines, leading to a condition known as “brake fade.” The pedal may feel spongy or soft, and stopping distances will increase dramatically. This is a critical safety failure.
4. Uneven Pad Wear
During a routine inspection, if you notice that the inner pad is worn down to the metal backing plate while the outer pad looks brand new, you likely have a slide pin issue. If both pads on one wheel are significantly more worn than the pads on the opposite wheel, the piston is likely dragging.
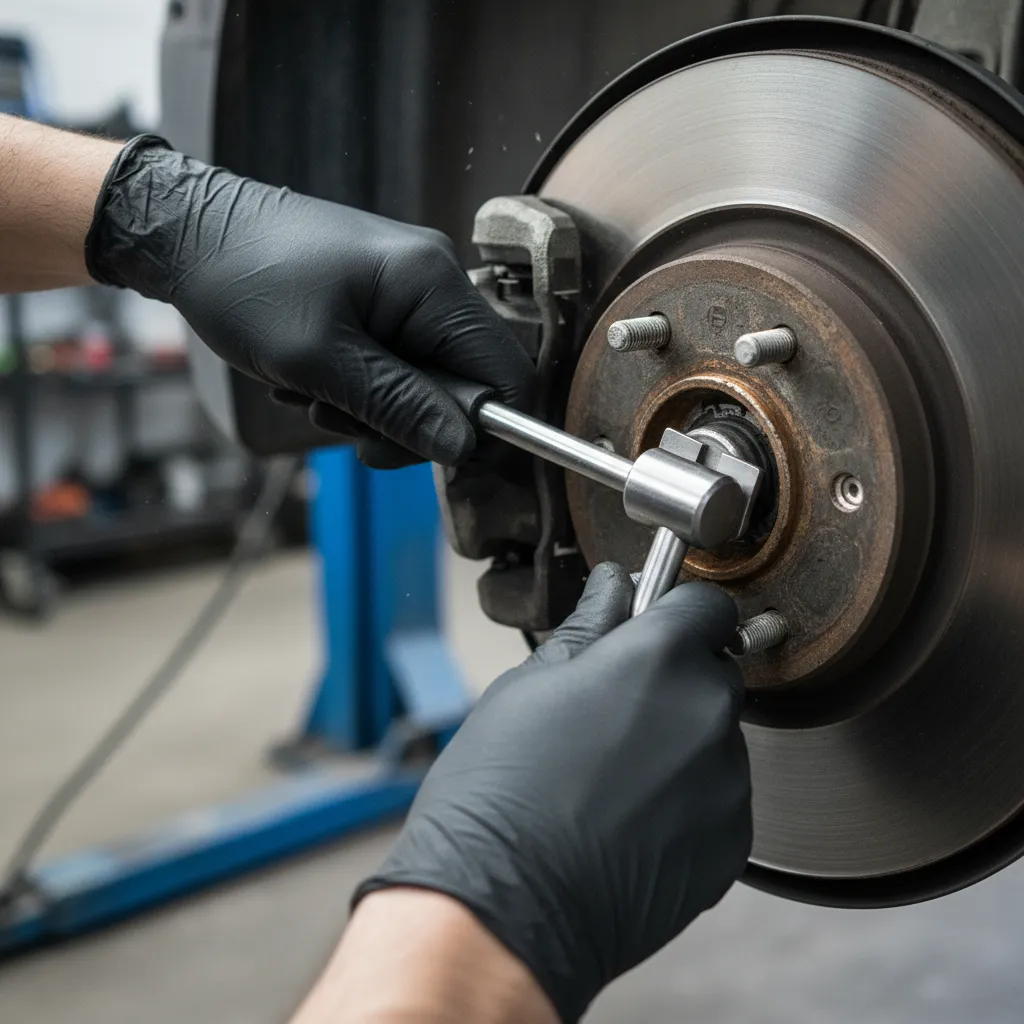
Diagnostic Steps: Confirming the Issue
Before ordering parts for a seized brake caliper repair, you must confirm which component has failed. You will need a floor jack, jack stands, and basic hand tools. For professional diagnostic or repair services, a Mobile Mechanic North Shore can offer convenient assistance.
- The Spin Test: safely lift the vehicle and secure it on jack stands. Put the transmission in neutral (ensure the car is on level ground and chocked). Attempt to spin the wheel by hand. It should rotate relatively freely with only a slight whispering sound from the pads. If the wheel is difficult to turn or stops immediately after you let go, the caliper is dragging.
- The Temperature Test: After a short drive, carefully approach the wheels. (Do not touch the rotor directly!). You can often feel the radiant heat coming off a seized wheel from several inches away. An infrared thermometer is the professional tool for this; a difference of 100°F or more between the left and right rotors indicates a seizure.
- Visual Inspection: Remove the wheel. Inspect the rubber dust boots around the piston and slide pins. Tears, cracks, or missing boots allow water ingress, leading to rust.
Repair Guide: Slide Pin Lubrication and Maintenance
If your diagnosis points to stuck slide pins, you may be able to save the caliper without replacing it. This is a common maintenance task that should be performed whenever brake pads are changed.
Step-by-Step Slide Pin Service
1. Removal: Remove the caliper mounting bolts. Hang the caliper body using a mechanic’s wire or a bungee cord—never let it hang by the rubber brake hose, as this can damage the internal lining of the hose. Remove the bracket if necessary to access the pins.
2. Extraction: Pull the slide pins out of the bracket. If they are seized solid, you may need to use penetrating oil, heat (from a torch), and vice grips to twist them out. Note: If you have to use excessive force or heat to remove the pins, the bracket bore might be damaged, and replacement is recommended.
3. Cleaning: Once removed, clean the pins thoroughly. Use a wire wheel or 400-grit sandpaper to remove all old grease and corrosion. The metal should be shiny and smooth. Simultaneously, clean the bore of the bracket. A round wire bore brush or a drill attachment works best to scrub out old, caked-on lubricant.
4. Lubrication: This is the most critical step. You must use a high-temperature silicone-based brake lubricant (often ceramic or dielectric grease).
WARNING: Do not use standard petroleum-based chassis grease or WD-40. Petroleum causes the rubber dust boots to swell and degrade, which will seize the caliper again within weeks.
5. Reassembly: Apply a generous coat of silicone lubricant to the pins and insert them into the bracket. Ensure the rubber boots are seated correctly to seal out moisture. The pins should slide in and out effortlessly.
Solving Piston Retraction Issues
If the slide pins are moving freely but the wheel is still locked, or if you cannot compress the piston to install new pads, you are dealing with a piston seizure. This is more complex than slide pin issues.
Using the Correct Tools
For standard front calipers, a C-clamp or a piston compression tool is used to push the piston back into the bore. For rear calipers with integrated parking brakes, the piston often needs to be rotated while being compressed. You must use a specialized wind-back tool for these. Proper maintenance of the overall braking system also includes attention to Emergency Brake (Handbrake) Adjustment.
The “Collapsed Hose” Variable
Sometimes, a piston appears seized, but the culprit is actually a collapsed flexible brake hose. As hoses age, the internal liner can separate and act like a check valve, allowing fluid in but preventing it from returning to the master cylinder.
Test: If the piston won’t retract, briefly crack open the bleeder screw. If brake fluid spurts out under pressure and the piston can suddenly be compressed easily, the caliper is fine, but the brake hose is blocked and requires replacement. If the bleeder is open and the piston still won’t move, the piston is mechanically seized in the bore.
The Great Debate: Replacement vs. Rebuild Kits
When faced with a mechanically seized piston, you have two options: rebuild the existing unit or replace it entirely. For most DIYers and general consumers, this decision comes down to time, safety, and cost.
Option A: Rebuilding the Caliper
Rebuilding involves removing the piston, honing the cylinder bore, and replacing the square-cut seal and dust boot.
Pros: Extremely cheap (seal kits often cost less than $15). Keeps the original OEM casting.
Cons: Time-consuming and messy. Requires compressed air to pop the piston out (which can be dangerous). If the piston or bore is deeply pitted from rust, it cannot be rebuilt and must be scrapped anyway.
Option B: Replacing with Remanufactured Units
This is the industry standard for repair shops. You buy a caliper that has been professionally rebuilt and tested, and you return your old one as a “core.”
Pros: Fast and reliable. Includes new hardware and brackets. often comes with a warranty.
Cons: More expensive than a seal kit ($50–$150 per caliper).
Verdict: Unless you are restoring a vintage car where parts are unavailable, replacement is generally recommended. The labor and risk involved in honing a rusted bore at home often outweigh the cost savings. Modern remanufactured calipers are pressure-tested and safe.
For more technical details on hydraulic braking systems, you can refer to this article on Hydraulic Brakes or consult safety standards via the NHTSA.
Preventative Measures for Brake System Longevity
Once you have performed a seized brake caliper repair, you want to ensure it doesn’t happen again. Brake fluid is hygroscopic, meaning it absorbs moisture from the atmosphere. Over time, this water content lowers the boiling point of the fluid and causes internal corrosion of the caliper pistons and ABS modules. Just as with brake system care, addressing other critical vehicle components such as those requiring Starter Motor Problems Diagnosis & Repair Auckland is vital for comprehensive vehicle maintenance.
- Flush Brake Fluid: Replace your brake fluid every 2 years or 30,000 miles. This removes the moisture that causes internal piston rust.
- Lubricate Annually: In the “Rust Belt” or areas with salted roads, it is wise to remove, clean, and re-grease your slide pins once a year, even if you don’t need new pads.
- Inspect Boots: whenever the wheels are off, check the rubber dust boots. A $2 rubber boot can save a $200 caliper.
Frequently Asked Questions
Can you drive with a seized brake caliper?
No, you should not drive with a seized caliper. Doing so can cause the brake fluid to boil, leading to total brake failure. It can also cause a fire, destroy the rotor and wheel bearing, and make the vehicle pull unpredictably, posing a severe safety risk.
How much does it cost to fix a seized caliper?
If you are replacing the caliper at a professional shop, expect to pay between $250 and $500 per axle (calipers are usually replaced in pairs). DIY replacement costs significantly less, typically $60 to $150 for parts per caliper, plus brake fluid.
Can I use WD-40 to unseize a brake caliper?
You can use WD-40 or penetrating oil to help remove a stuck slide pin or bolt during disassembly, but never use it as a permanent lubricant or spray it on brake pads/rotors. WD-40 will swell rubber seals and ruin the caliper. Always use silicone-based brake grease for assembly.
Does a seized caliper ruin the rotor?
Yes, almost always. The constant friction generates excessive heat which warps the rotor (causing vibration) and glazes the surface. If the pad wears down to metal, it will gouge the rotor. It is highly recommended to replace rotors and pads when replacing a seized caliper.
How do you unseize a caliper without taking it off?
You cannot effectively repair a seized caliper without removing it. While you might be able to force a piston back with a C-clamp temporarily, the corrosion or lack of lubrication causing the seizure remains. The problem will return immediately. Proper disassembly and cleaning or replacement is required.
What causes a brake caliper to seize?
The primary causes are corrosion on the slide pins due to lack of lubrication, torn rubber dust boots allowing water and grit inside, or old brake fluid containing moisture which rusts the piston internally.